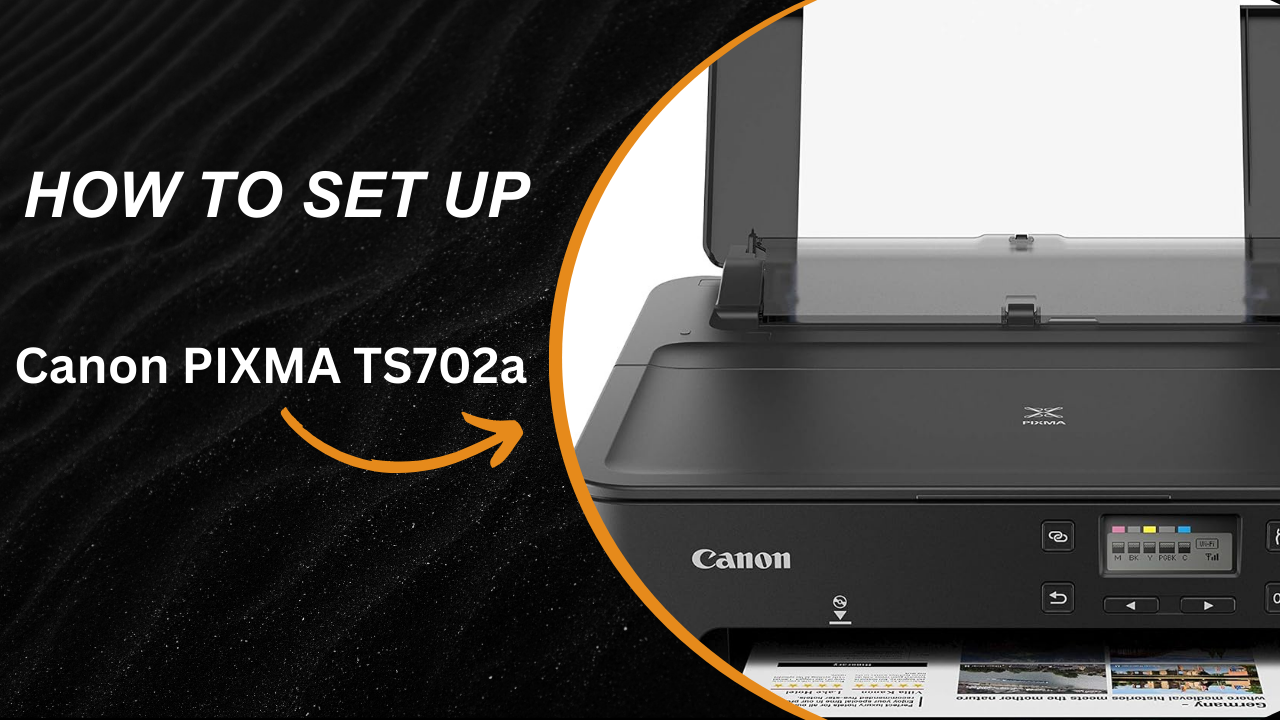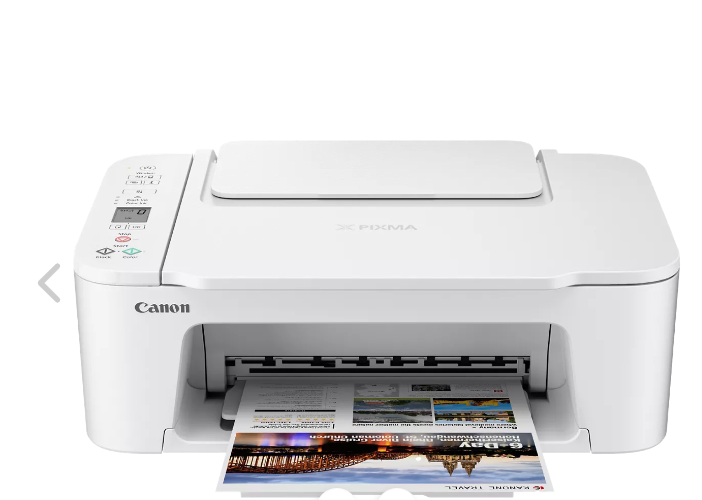
How to Setup PIXMA TS302 Single-Function Inkjet Printer
The Canon PIXMA TS302 is a compact and efficient single-function inkjet printer designed for home and small office use. It offers high-quality color printing and wireless connectivity, making it an ideal choice for those who need a reliable printer without a lot of space. In this tutorial, we will show you how to unbox, setup PIXMA TS302 single function printer in step-by-step procedure. Follow the tutorial closely to setup your PIXMA TS302 printer. We will also guide you through a few important troubleshooting steps for the printer, just in case it is required.
How to Setup PIXMA TS302 printer:
Given below are the steps to unbox, prepare and install the printer and also connect your PIXMA TS302 single function printer to your computer through a common wireless network.
Unboxing the PIXMA TS302 printer
- Carefully open the packaging box and take out the PIXMA TS302 single function inkjet printer from its box. Place the box on a flat surface and open it by cutting the tape along the top flaps.
- Remove all the contents, including the printer, power cord, setup CD (if included), and documentation. Remove any protective plastic or foam from the printer.
- Take out the packaging sealing tapes from the body of the printer, and the inside of the printer, including the inner compartment. Make sure to handle the printer carefully when taking out the sealing tapes.
- Ensure that all of the below items have come with your printer inside its packaging box:
- PIXMA TS302 printer
- Power cord
- Ink cartridges
- User manual
Setting Up the PIXMA TS302 single-function inkjet printer
- Place the printer on a stable, flat surface near a power outlet. Ensure there’s enough space around the printer for ventilation and paper handling.
- Take out the power cord from the packaging box. Connect one end of the power connector to the printer and the other end to a nearby electrical outlet.
Install the Ink Cartridges:
- Open the front cover of the printer.
- Locate the cartridge holder inside the printer and move it to the center by pressing the “Power” button if needed.
- Unwrap the new ink cartridges and remove the protective plastic from them.
- Insert each cartridge into its corresponding slot, ensuring they click into place. Follow the color coding if applicable.
- Close the front cover.
Load Paper:
- Open the paper tray located at the rear of the printer.
- Adjust the paper guides to fit the size of the paper you are using.
- Load a stack of paper into the tray, making sure not to overload it.
- Close the paper tray.
That is it! The printer’s basic setup process is now complete. Let us proceed by installing the printer software.
Preparing the printer before installation
- On the printer control panel, press and hold the Wireless Connect button which is labelled as (A).
- The printer will now prepare itself for connecting wirelessly
- When the printer preparation process is complete, a screen will display on the printer’s control panel confirming the same, and ask you to follow the instructions.
Installing the printer software and connecting to network
- Go to the Canon official website to download the latest drivers for the PIXMA TS302, or click here to access the Canon Print app for your printer: https://ij.manual.canon/ij/webmanual/WebGS/WGS2/wgs_connect.html?lng=en&type=setup&area=us&mdl=TS3720&os=w&osver=10.0
- Open the file once downloaded, and then click on Start Setup.
- You will be presented with “Before you continue” page. Click on the Next
- Select your appropriate region on the next screen, and then click Next.
- You will be presented with a license agreement. Go through the agreement and select Yes to continue.
- You will be then presented with an “Extended survey” agreement page. This program is optional. Therefore, you may select to Agree or Do not agree.
- Select Yes on the connection method page.
- The setup will now continue. If the “Select wireless router”screen appears, select the wireless router to connect your printer. Enter the network key, and then press Next.
- Now the setup wizard will show that setup is under progress. Wait for the process to complete.
- When the network connection is established successfully, you will be shown the “Network connection completed”
- You will now see the “Test print screen”. You may choose to test or not to test. It is completely optional.
- After that, the “Setup completed”page should display. Click on Next
- A Software Installation List will now display with optional products and apps to install. You may choose any desired software and apps from the list to install them.
- Then, click on Next button to continue.
- You will now come to the User registration page. You may choose to register your printer under your account to avail more product benefits and support.
- After that, the setup wizard will display “Installation successful” Click on Exit to finish the installation process.
That is it! Your PIXMA TS302 Wireless Single Function printer should now be ready to print documents and photos.
Troubleshooting common issues with the PIXMA TS302 Wireless Single Function Printer
Here’s a step-by-step format for the troubleshooting questions and solutions for the Canon PIXMA TS302 single-function inkjet printer:
Why is my Canon PIXMA TS302 printer not connecting to Wi-Fi?
Steps:
- Ensure your wireless network router is turned on and providing a stable internet connection.
- Press and hold the Wi-Fi button on your printer until the power light starts flashing.
- Press the WPS button on your router within 2 minutes to establish the connection.
- If using the Canon PRINT Inkjet/SELPHY app, follow the instructions to manually connect the printer to Wi-Fi.
- Once the Wi-Fi light is stable, try printing a document to confirm the connection.
Why are my printouts faint or incomplete?
Steps to resolve the issue:
- Check the ink levels through the printer’s settings or using the Canon PRINT app.
- Replace any low or empty ink cartridges.
- If the ink levels are fine, go to the printer’s maintenance settings.
- Select the “Clean Print Head” option to clear any clogs or dried ink.
- Print a test page to verify if the issue is resolved.
What should I do if my Canon PIXMA TS302 is not responding to print commands?
Steps to resolve the issue:
- Check that the printer is properly connected to your computer via USB or Wi-Fi.
- Restart both your computer and printer to refresh the connection.
- Ensure the printer is selected as the default device in your computer’s print menu.
- If the issue persists, uninstall and reinstall the printer driver from Canon’s official website.
- After reinstalling the driver, attempt to print again to see if the problem is resolved.
Why does my printer keep displaying a paper jam error even though there’s no jam?
Steps to resolve the issue:
- Turn off the printer and unplug it from the power source.
- Gently open the front cover and carefully inspect the paper feed area for any debris or small paper pieces.
- Remove any torn paper or objects that may be causing the jam error. Make sure that you do so gently so that the process does not damage any inner components of the printer.
- Gently shake the printer upside down to dislodge any hidden paper. Do not shake too forcibly to avoid any kind of damage to the printer or its parts.
- Plug the printer back in, turn it on, and check if the error message has disappeared.
These step-by-step instructions will help users troubleshoot common issues with the Canon PIXMA TS302 easily.