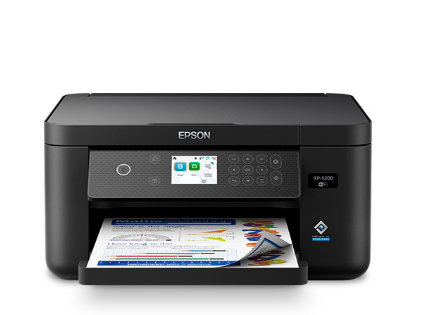
How to Setup Epson XP-5200 All-in-One Printer
Setting up your new Epson Expression Home XP-5200 All-in-One Printer is a straightforward process that ensures you can start printing, scanning, and copying in no time. This guide will walk you through each step, from unboxing to the first print. Follow these instructions to get the best performance from your new printer.
Step by step process to setup Epson XP-5200 All-in-One Printer
1. Unbox Your Printer
Remove all the tapes and packaging materials from the printer.
Ensure you have the printer, power cord, installation CD, user manual, and ink cartridges.
2. Connect the Power
Connect the power cord to the printer and plug it into a power outlet.
Press the power button to turn on the printer.
3. Install Ink Cartridges
Lift the scanner unit to access the cartridge area.
Shake each cartridge gently before installing. Insert the cartridges into their corresponding color slots until they click into place.
Lower the scanner unit back into position.
4. Load Paper
Pull out the paper tray at the bottom of the printer.
Adjust the paper guides and load a stack of paper with the printable side facing down. Close the paper tray.
5. Install Printer Software
Use the provided CD to install the printer software. If your computer doesn’t have a CD drive, download the software from the Epson Support website
The installation wizard will guide you through the process. Select your printer model (XP-5200) and follow the prompts.
6. Connect the Printer to Your Computer
Choose a connection method: You can connect via USB, Wi-Fi, or Ethernet.
USB Connection: Connect the USB cable from the printer to your computer.
Wi-Fi Connection: Follow the on-screen instructions to connect your printer to your Wi-Fi network. Ensure your computer is connected to the same network.
Ethernet Connection: Connect the Ethernet cable from the printer to your router.
7. Print a Test Page
Go to your computer’s printer settings.
Select your Epson XP-5200 and print a test page to ensure everything is set up correctly.
8. Configure Epson XP-5200 All-in-One Printer Settings
Customize your print settings such as paper size, print quality, and other preferences through the printer software.
Common Issues and Solutions
Printer not connecting to Wi-Fi: Ensure the printer is within range of the router and that you have entered the correct Wi-Fi password.
Poor print quality: Run a print head cleaning cycle from the printer software.
Paper jams: Carefully remove any jammed paper from the printer. Refer to the user manual for specific instructions.
Setting up your Epson Expression Home XP-5200 All-in-One Printer is easy with this step-by-step guide. Following these instructions will help you achieve optimal performance and get the most out of your new printer.
For further assistance, refer to the user manual or visit the https://www.epson.com/Support.
By following this guide, you’ll ensure a smooth setup process and enjoy all the features your Epson XP-5200 has to offer. Happy printing!