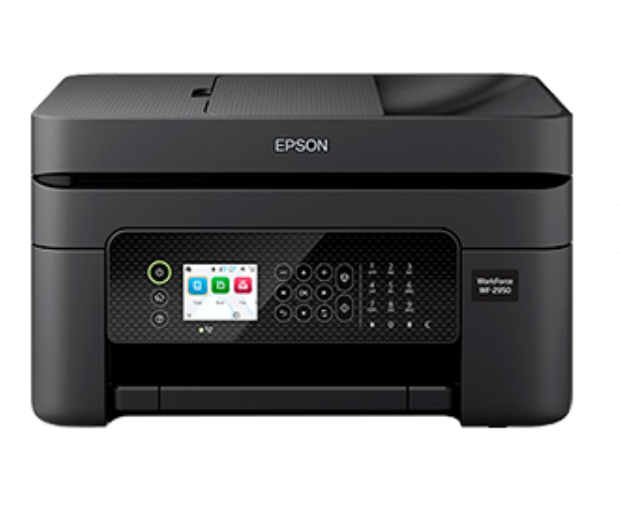
How to Setup WorkForce WF-2950 Wireless Printer: A Step-by-Step Guide
Setting up your new WorkForce WF-2950 wireless printer can seem daunting, but with this comprehensive guide, you’ll have your printer up and running in no time. This step-by-step tutorial will walk you through the process, ensuring your printer is connected to your Wi-Fi network and ready to use. Follow along to get the most out of your new WorkForce WF-2950!
Setup WorkForce WF-2950 Wireless Printer: A Step-by-Step Guide
Unboxing Your Printer:
Start by unboxing your WorkForce WF-2950. Ensure you have all the components:
WorkForce WF-2950 Printer
Power cord
Ink cartridges
User manual
Installation CD (if applicable)
Initial Setup:
Connect the power cord to the printer and plug it into an electrical outlet. Press the power button to turn on the printer.
Open the printer cover and insert the provided ink cartridges. Follow the instructions on the printer’s screen to ensure proper installation.
Open the paper tray and load it with the appropriate paper size. Adjust the guides to fit the paper snugly.
Connecting to Wi-Fi:
On the printer’s control panel, navigate to the Wi-Fi setup option. This can usually be found under the settings or network menu.
Choose your Wi-Fi network from the list of available networks.
Input your Wi-Fi password using the printer’s on-screen keyboard. Ensure you enter it correctly to avoid connection issues.
Once connected, the printer will display a confirmation message. You can also print a network status sheet to verify the connection.
Installing Printer Drivers and Software:
To use your printer with a computer, you need to install the necessary drivers and software.
Go to the Epson support page and search for the WorkForce WF-2950.
Download the latest drivers and software for your operating system.
Open the downloaded file and follow the on-screen instructions to install the drivers.
Once installed, add the printer to your computer’s list of devices. On Windows, this can be done through the Devices and
Printers menu. On Mac, use the Printers & Scanners option in System Preferences.
Configuring Printer Settings:
From your computer, open the printer’s properties or preferences window.
Configure the print quality, paper size, and other settings according to your preferences.
Save your configurations for future use.
Printing a Test Page:
To ensure everything is set up correctly, print a test page.
Open any document or image on your computer.
Use the print command (Ctrl + P on Windows or Command + P on Mac) to open the print dialog.
Choose the WorkForce WF-2950 from the list of available printers.
Click “Print” and wait for the test page to be completed.
Troubleshooting Common Issues:
If you encounter any issues, try these common troubleshooting steps:
Ensure your Wi-Fi password is correct and the printer is within range of your router.
Make sure you have downloaded the correct drivers for your operating system.
Check the ink levels and clean the print head if necessary.
By following these steps, you should have your WorkForce WF-2950 wireless printer set up and ready to go.
Enjoy the convenience of wireless printing in your home or office!