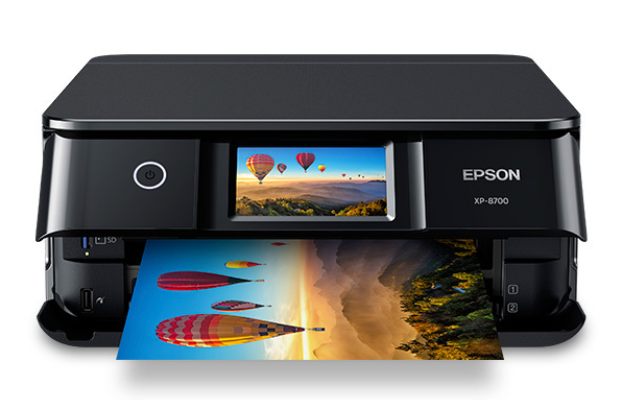
Set Up the Expression Photo XP-8700 Printer
Setting up a new printer can seem daunting, but with the right guide, the process can be smooth and hassle-free. In this blog post, we’ll walk you through the steps to set up your Expression Photo XP-8700 Wireless All-in-One Printer. Follow along, and you’ll have your printer up and running in no time!
Step 1: Unboxing and Initial Setup
Carefully remove the printer from its packaging.
Ensure you have all the necessary components: the printer, power cord, ink cartridges, user manual, and any included software CDs.
Take off all the protective tapes and materials from the printer.
Plug one end of the power cord into the printer and the other into a power outlet.
Press the power button to turn on the printer.
Step 2: Installing the Ink Cartridges
Lift the scanner unit to access the ink cartridge area.
Unpack the ink cartridges from their packaging.
Remove the protective tape from each cartridge.
Insert each cartridge into its corresponding slot.
Push down until it clicks into place.
Close the scanner unit.
The printer’s display will guide you through an initial setup process, including ink charging. This may take a few minutes.
Step 3: Loading Paper
Pull out the paper tray located at the bottom of the printer.
Slide the paper guides to the edges of the tray.
Place a stack of paper into the tray, making sure it fits snugly within the guides.
Adjust the guides so they lightly touch the edges of the paper.
Reinsert the paper tray into the printer.
Step 4: Connecting to a Wireless Network
On the printer’s control panel, navigate to the setup menu.
Select “Network Settings” and then “Wireless Setup Wizard”.
The printer will search for available Wi-Fi networks.
Select your network from the list.
Use the on-screen keyboard to enter your Wi-Fi password.
Once connected, the printer will display a confirmation message.
Step 5: Installing Printer Software
Go to the Epson support website to download the latest drivers and software for the Expression Photo XP-8700.
Follow the on-screen instructions to download the appropriate software for your operating system.
Run the installer and follow the prompts to complete the installation.
On your computer, go to the printer settings.
Select “Add a Printer” and choose the Expression Photo XP-8700 from the list of available printers.
Step 6: Test the Printer
Open a document or image on your computer.
Select “Print” and choose the Expression Photo XP-8700.
Print a test page to ensure everything is working correctly.
Examine the test page for any issues with print quality.
If necessary, run a print head cleaning cycle through the printer’s maintenance menu.
Conclusion:
Congratulations! Your Expression Photo XP-8700 Wireless All-in-One Printer is now set up and ready to use.
Whether you’re printing photos, documents, or scanning, this printer offers high-quality results with ease.
If you encounter any issues during the setup process, refer to the user manual or visit the Epson support website for additional assistance.