How to Set Up HP ENVY Inspire 7255e All-in-One Printer: A Step-by-Step Guide
May 25, 2024
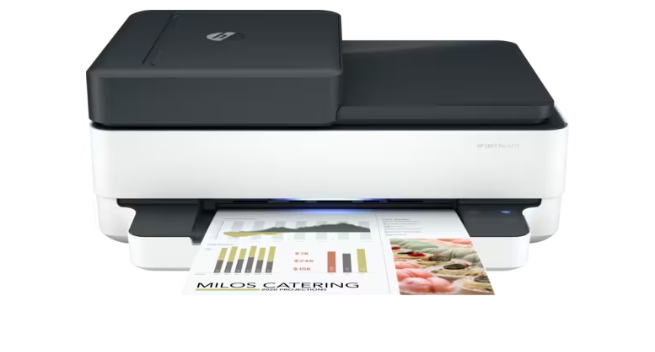
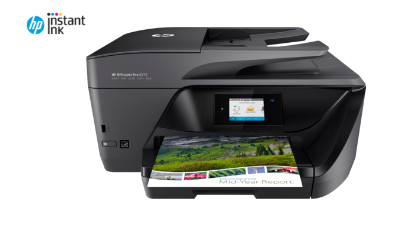
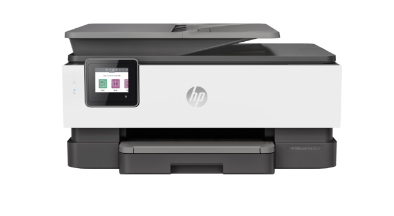
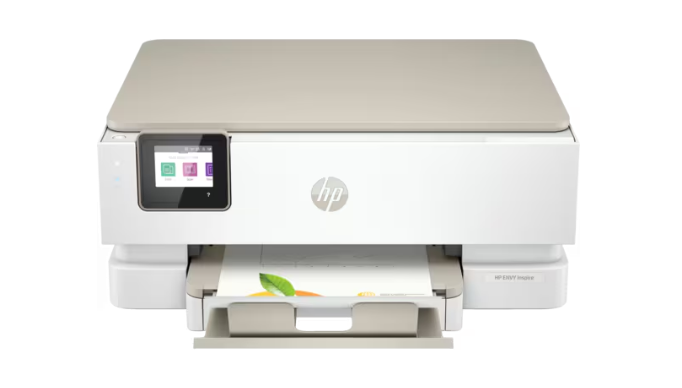
So you’ve just brought home your brand new HP ENVY Inspire 7255e all-in-one printer. Learn how to set up your HP ENVY Inspire 7255e All-in-One Printer with this comprehensive guide.
How to Set Up HP ENVY Inspire 7255e All-in-One Printer: A Step-by-Step Guide
Step 1: Unbox and Prepare the Printer
- Carefully remove the printer from the packaging and remove any protective tape.
- Place the printer on a flat, stable surface.
- Connect the power cable to the printer and a wall outlet.
- Open the printer carriage and remove any orange shipping tape or packing materials.
- Take out the ink cartridges and remove the protective tape from their contacts.
Step 2: Install the Ink Cartridges
- Identify the color-coded slots for each ink cartridge (black, cyan, magenta, yellow).
- Align the cartridge with its corresponding slot and gently push it in until it clicks into place.
- Repeat for all the ink cartridges.
Step 3: Load Paper
- Lift the input tray located at the bottom front of the printer.
- Slide out the paper length guide and adjust it to match the width of your paper.
- Load a stack of plain white paper (or your desired paper type) into the tray, ensuring the edges are straight.
- Adjust the paper width guide to fit snugly against the paper stack without bending it.
- Lower the input tray gently.
Step 4: Choose Your Connection Method
- The HP ENVY Inspire 7255e offers both wireless and USB connection options.
Wireless Setup
- Turn on the printer and wait for it to complete its startup process.
- Download the HP Smart app on your smartphone or tablet from the App Store or Google Play.
- Launch the HP Smart app and follow the on-screen instructions to connect your printer to your Wi-Fi network. You’ll likely need to enter your Wi-Fi password during this process.
USB Setup
- Connect the USB cable (not included) to the USB port on your computer and the USB port on the back of the printer.
- On your computer, proceed to the next step of installing the HP software.
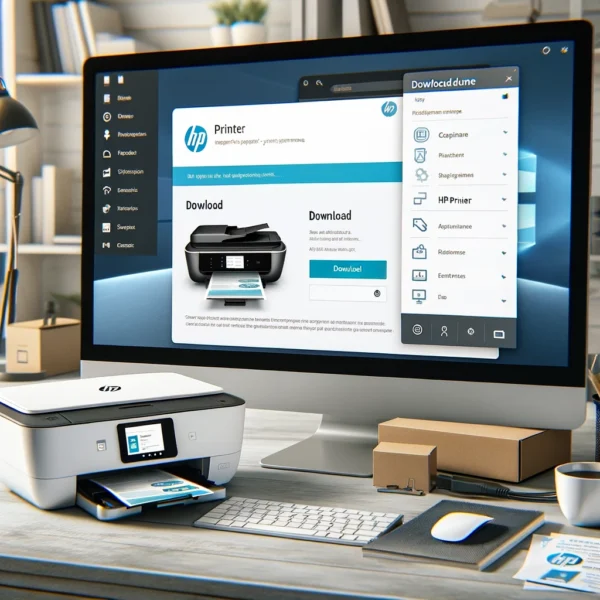
Step 5: Install the HP Software (Optional, but Recommended)
- With your preferred connection method established (wireless or USB), turn on your computer.
- Visit https://support.hp.com/us-en in your web browser.
- Enter your printer model number (HP ENVY Inspire 7255e) and select your printer from the search results.
- Click on the “Download” or “Drivers” section and choose the software package compatible with your operating system (Windows or Mac).
- Download and run the installer following the on-screen instructions. This software will provide full functionality for your printer, including printing, scanning, and copying features.
Step 6: Test Your Printer
- Once the software installation is complete, you can test your printer’s functionality.
- Open any document or photo on your computer that you want to print.
- Select the “Print” option and choose your HP ENVY Inspire 7255e printer from the list.
- Click “Print” and wait for your document or photo to emerge from the printer tray.
Congratulations! You’ve successfully set up your HP ENVY Inspire 7255e all-in-one printer. Now you can enjoy high-quality printing, scanning, and copying from the comfort of your home.
Additional Tips
- For mobile printing convenience, make sure to enable Wi-Fi Direct on your printer and follow the HP Smart app’s instructions for mobile device setup.
- Keep your printer’s firmware updated for optimal performance. You can check for updates through the HP Smart app or the HP website.
- Refer to the user manual for detailed instructions on advanced features and troubleshooting steps.