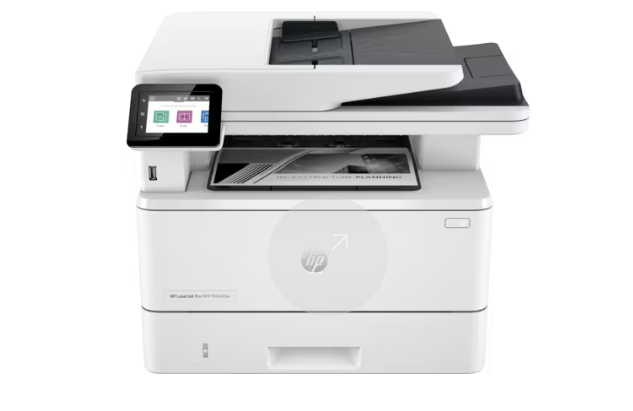
Install the HP LaserJet Pro MFP 4101fdw Wireless Printer: A Step-by-Step Guide
May 25, 2024
Installing a new printer can seem daunting, but with the HP LaserJet Pro MFP 4101fdw, the process is straightforward and user-friendly. In this comprehensive guide, we’ll walk you through each step to ensure a smooth installation. By the end, you’ll have your HP LaserJet Pro MFP 4101fdw set up and ready to tackle all your printing needs.
Why Choose the HP LaserJet Pro MFP 4101fdw?
Before diving into the installation process, let’s briefly highlight why this printer is an excellent choice:
- Delivers sharp, professional prints.
- Print from anywhere using Wi-Fi.
- Print, scan, copy, and fax capabilities.
- Prints up to 42 pages per minute.
- ENERGY STAR® certified.
Step-by-Step Installation Guide
Step 1: Install the Toner Cartridge
- Open the front cover of the printer.
- Unpack the toner cartridge from its protective casing.
- Gently shake the toner cartridge to distribute the toner evenly.
- Insert the toner cartridge into the printer until it clicks into place.
- Close the front cover.
Step 2: Connect the Power
- Plug the power cord into the back of the printer.
- Connect the other end to a power outlet.
- Press the power button to turn on the printer.
Step 3: Configure Initial Settings
- On the printer’s touchscreen, select your language and region.
- Set the date and time.
- Follow any additional prompts to complete the initial setup.
Step 4: Connect to Wi-Fi
- On the printer’s touchscreen, navigate to the “Network” or “Wireless” settings.
- Select “Wireless Setup Wizard”.
- Choose your Wi-Fi network from the list of available networks.
- Enter your Wi-Fi password using the on-screen keyboard.
- Confirm the connection. The printer will display a confirmation message once connected.
Step 5: Install Printer Software
Method 1: Using HP Smart App (Recommended)
- Download the HP Smart app from the https://www.hp.com or your device’s app store.
- Open the app and follow the on-screen instructions to add your printer.
- The app will automatically detect the HP LaserJet Pro MFP 4101fdw and guide you through the installation process.
Method 2: Manual Download from HP Website
- Visit the https://support.hp.com.
- Search for “HP LaserJet Pro MFP 4101fdw.”
- Download the latest printer drivers and software.
- Open the downloaded file and follow the installation instructions.
Step 6: Print a Test Page
- Once the software is installed, open the HP Smart app or the printer software on your computer.
- Select the option to print a test page.
- Ensure the test page prints correctly to verify the setup.
Troubleshooting Common Issues
- Wi-Fi Connection Issues: Ensure your Wi-Fi network is operational and the printer is within range. Restart your router and printer if needed.
- Poor Print Quality: Check if the toner cartridge is properly installed and has sufficient toner. Perform a cleaning cycle if necessary.
- Paper Jams: Remove any obstructions from the paper path and ensure you’re using the correct paper type and size.
Conclusion
- Setting up your HP LaserJet Pro MFP 4101fdw Wireless Printer is a simple process when you follow these steps.
- With its high-quality printing, wireless capabilities, and multifunction features, this printer is an excellent addition to any home or office.
- Enjoy seamless printing with your newly installed HP LaserJet Pro MFP 4101fdw.