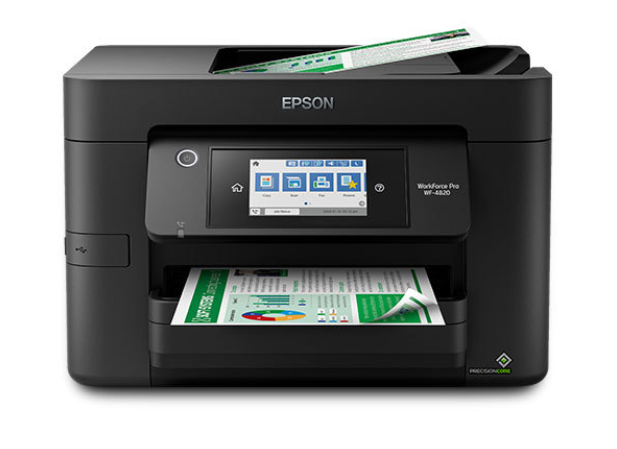
How to Setup WorkForce Pro WF-4820 Printer
Setting up your new WorkForce Pro WF-4820 Wireless All-in-One Printer can seem daunting, but with this step-by-step guide, you’ll have your printer up and running in no time. This guide is designed to help you get your printer configured correctly while providing valuable tips and insights.
Unbox the Printer:
Carefully remove the printer from the box.
Remove all packaging materials, including tapes and protective covers.
Check Contents:
Ensure that the package includes the printer, power cord, ink cartridges, user manual, and installation CD (if provided).
Connect the power cord to the printer and plug it into a power outlet.
Press the power button to turn on the printer.
Installing Ink Cartridges
Lift the scanner unit to access the ink cartridge area.
Shake each ink cartridge gently before opening.
Remove the yellow tape from each cartridge.
Insert the cartridges into their respective slots and press down until they click into place.
Close the scanner unit.
Loading Paper
Pull out the paper tray from the front of the printer.
Adjust the paper guides to fit your paper size.
Load paper into the tray, ensuring it’s aligned properly.
Push the tray back into the printer.
Connecting to Wi-Fi
On the printer’s touchscreen, navigate to the “Home” menu.
Select “Wi-Fi Setup” and then “Wi-Fi (Recommended).”
Select your Wi-Fi network from the list of available networks.
Enter your Wi-Fi password using the touchscreen keyboard.
Confirm the settings and wait for the printer to connect to the network.
Installing Printer Software
Visit the Epson Support website and search for “WorkForce Pro WF-4820.”
Download the latest drivers and software for your operating system.
Open the downloaded file and follow the on-screen instructions.
Choose “Wireless” as the connection type during the setup process.
The software will detect your printer on the network and complete the installation.
Printing a Test Page
After installation, open a document or photo on your computer.
Select “Print” and choose “Epson WorkForce Pro WF-4820” from the list of printers.
Print a test page to ensure everything is working correctly.
Troubleshooting Tips
If your printer is not found during the software installation, ensure it is connected to the same Wi-Fi network as your computer.
Check for firmware updates in the printer settings to keep your device up to date.
For paper jams, follow the instructions on the printer screen or refer to the user manual.
Conclusion:
Setting up your Epson WorkForce Pro WF-4820 Wireless All-in-One Printer is straightforward if you follow these steps.
Enjoy the convenience of wireless printing and the high-quality performance of your new printer.
For more tips and detailed guides, keep visiting our blog!