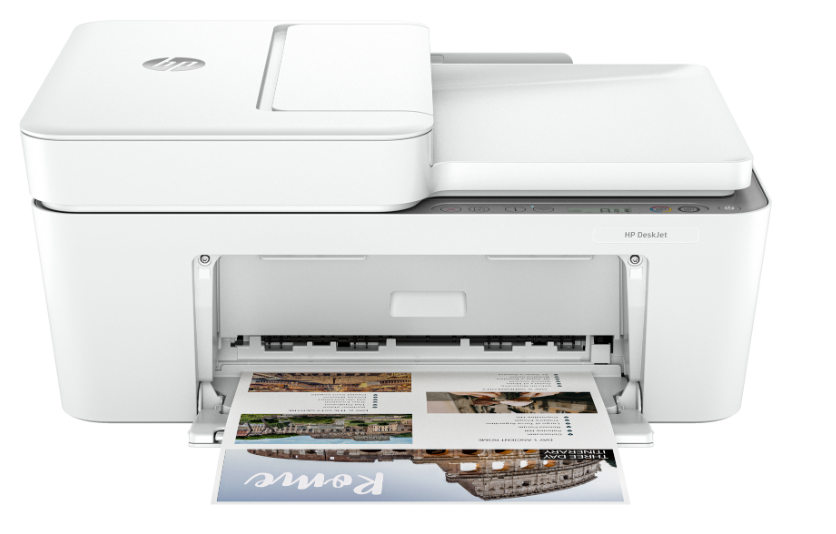
How to Configure HP Envy 6055e All-in-One Printer: A Step-by-Step Guide
Setting up a new printer can seem daunting, but with the right instructions, it becomes a straightforward task. The HP Envy 6055e All-in-One Printer is designed for home users who need a reliable, easy-to-use printer for everyday tasks. In this guide, we’ll walk you through the steps to configure HP Envy 6055e, ensuring you get it up and running smoothly.
How to Configure HP Envy 6055e All-in-One Printer
Step 1: Unboxing and Initial Setup
Carefully remove the printer from the box.
Take out all the packaging materials and protective tapes from the printer.
Check that you have all the components: the printer, power cord, ink cartridges, and setup guide.
Plug the power cord into the printer and then into an electrical outlet.
Turn on the printer by pressing the power button.
Step 2: Installing the Ink Cartridges
Lift the ink cartridge access door to expose the ink slots.
Unpack the ink cartridges from their packaging.
Remove the plastic tape from the cartridges.
Insert the cartridges into their corresponding slots (black in the black slot and tri-color in the color slot).
Close the ink cartridge access door.
Step 3: Loading Paper
Pull out the input paper tray at the bottom of the printer.
Adjust the paper width guides to fit the size of your paper.
Load a stack of plain, white paper into the tray.
Push the paper tray back in until it locks into place.
Step 4: Connecting the Printer to Wi-Fi:
On your smartphone or tablet, go to the app store and download the HP Smart app.
Open the HP Smart app and follow the on-screen instructions to set up a new printer.
Ensure your mobile device is connected to the Wi-Fi network you want to connect the printer to.
The app will guide you through connecting the printer to your Wi-Fi network.
Step 5: Installing Printer Software on Your Computer
On your computer, go to the HP Support website.
Search for “HP Envy 6055e” and download the latest printer software and drivers.
Run the downloaded file and follow the on-screen instructions to install the printer software.
During installation, you will be prompted to connect your printer. Ensure it is turned on and connected to the same Wi-Fi network as your computer.
Step 6: Completing the Setup
Once the setup is complete, print a test page to ensure everything is working correctly.
Open a document or photo on your computer and select “Print” from the file menu.
Choose your HP Envy 6055e printer from the list of available printers and print the document.
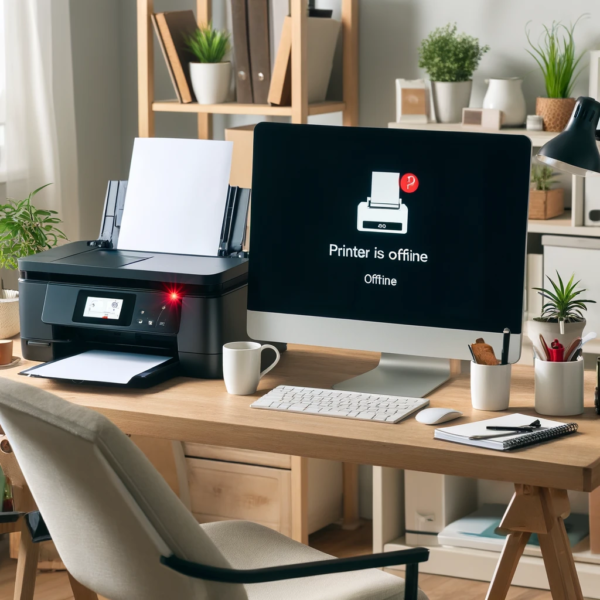
Troubleshooting Tips
Connection Issues: Ensure your Wi-Fi network is functioning correctly. Restart your router and printer if necessary.
Ink Cartridge Errors: Make sure the ink cartridges are installed correctly and that you’ve removed all protective tapes.
Paper Jams: If the printer indicates a paper jam, turn off the printer, open all accessible doors, and gently remove any jammed paper.
Related Articles:
How to Reconnect HP Printer to the Network: A Step-by-Step Guide
How to Scan to Computer with HP Printer: A Step-by-Step Guide
How to Enroll HP Printer in Instant Ink: A Step-by-Step Guide
Conclusion
Configuring HP ENVY 6055e All-in-One Printer is a straightforward process that involves unboxing, setting up the hardware, connecting to Wi-Fi, and installing software.
By following these steps, you’ll have your printer ready to handle all your printing needs in no time. Happy printing!