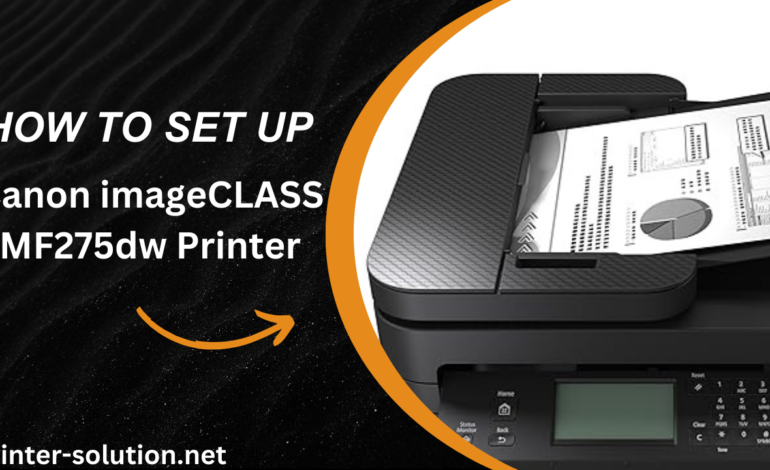
How to Setup imageCLASS LBP246dw Printer: A Complete Guide
Setting up a new printer can seem daunting, especially for those who are not tech-savvy. This guide will help you setup imageCLASS LBP246dw Printer step by step, from unboxing to configuring the duplex printing and scanning features. Additionally, we’ll cover troubleshooting common issues that may arise during the process.
Setup imageCLASS LBP246dw Printer:
1. Unboxing and Initial Setup
Before you start the setup, make sure you have all the components. Your box should include:
- Canon imageCLASS LBP246dw Printer
- Power cord
- Starter toner cartridge
- Setup CD or download link for drivers
- USB cable (if needed)
2. Steps to Set Up:
- Carefully unbox the printer and remove all protective tapes and packaging materials.
- Open the front cover of the printer and install the starter toner cartridge provided in the box.
- Plug in the power cord and switch on the printer. The control panel will light up once the power is connected.
- Follow the on-screen instructions to set the language, date, and time using the control panel.
- For wireless setup, navigate to Menu > Settings > Network Settings on the printer’s screen. Choose your Wi-Fi network and enter the password.
- If your network has WPS, simply press the WPS button on your router and the printer will automatically connect.
- Use the CD provided or visit the official Canon website to download and install the necessary drivers on your computer.
- Follow the prompts to complete the driver installation.
- Once the setup is complete, your Canon imageCLASS LBP246dw is ready to print.
Setting Up Duplex (Double-Sided) Printing
One of the standout features of the imageCLASS LBP246dw is its automatic duplex printing, which allows you to print on both sides of the paper without manually flipping it.
Steps to Enable Duplex Printing:
Windows:
Go to Devices and Printers on your PC.
- Right-click the Canon LBP246dw printer and select Printer Properties.
- Under the Device Settings tab, ensure Duplex Printing is set to Enabled.
- When printing a document, select Print on both sides (Duplex) in the print dialog box.
Mac:
- Open System Preferences and select Printers & Scanners.
- Choose the LBP246dw printer and click Options & Supplies.
- Ensure the duplex feature is enabled.
- While printing a document, check the Two-Sided box in the print settings.
How to Scan a Document on imageCLASS LBP246dw
Though primarily a printer, the LBP246dw also supports scanning. Here’s how to scan a document:
- Install the Canon MF Scan Utility, available on the Canon website.
- Open the scanner lid and place your document face down on the glass.
- Open the Canon MF Scan Utility on your computer.
- Choose your Canon LBP246dw printer from the list of connected devices.
- Select the type of scan (PDF, JPEG, etc.), and click `Start` to begin scanning.
- Once the scan is complete, save the scanned file to your preferred location on your computer.
Troubleshooting Common Problems
Even the best printers can encounter issues. Here are some common problems with the Canon imageCLASS LBP246dw and their solutions.
Problem 1: Printer Not Connecting to Wi-Fi
- Ensure your router is working and that you’re using the correct Wi-Fi credentials.
- Try restarting both the router and the printer.
- If the printer still won’t connect, reset the printer’s network settings by navigating to Menu > Settings > Reset.
Problem 2: Paper Jams
- Open the printer’s paper tray and gently remove any jammed paper.
- Ensure that you’re using the correct paper size and that the paper is aligned properly in the tray.
- Check for small paper scraps inside the printer that could be causing the jam.
Problem 3: Print Quality Issues
- If prints are coming out blurry or faint, check the toner level via the printer’s control panel.
- Replace the toner cartridge if it’s low.
- Clean the inside of the printer, especially the toner rollers, to remove any dust or toner buildup.
Problem 4: Unable to Scan
- Ensure the Canon MF Scan Utility is installed and up-to-date.
- Check that your computer is connected to the same network as the printer.
- Restart both the printer and your computer, then try scanning again.
Conclusion:
Setting up Canon imageCLASS LBP246dw Duplex Laser Printer is straightforward when you follow these steps. Whether you need to configure duplex printing, scan documents, or troubleshoot common problems, this guide has covered everything you need.
If you’re still facing issues, refer to the printer’s user manual or contact Canon customer support for further assistance.