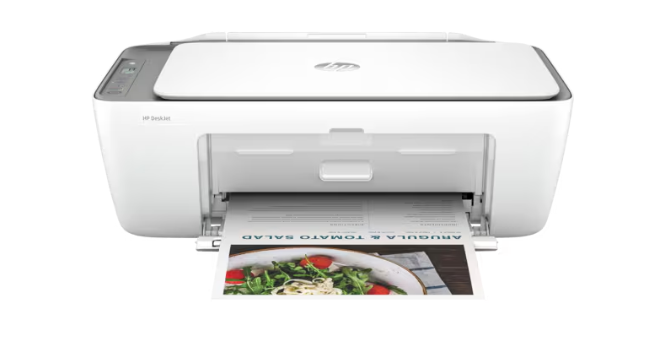
Set Up HP DeskJet 2855e All-in-One Printer: A Step-by-Step Guide
May 25, 2024
Setting up your new HP DeskJet 2855e All-in-One Printer is straightforward and can be done in just a few steps. This guide will walk you through the process, ensuring you have your printer up and running quickly.
Steps to Set Up HP DeskJet 2855e All-in-One Printer
Step 1: Unboxing and Preparing Your Printer
- Carefully remove the printer and all included materials from the box.
- Take off all the protective tape and packaging materials from the printer, including the plastic film covering the control panel.
- Plug the power cord into the back of the printer and the other end into a power outlet. Turn on the printer by pressing the power button.
Step 2: Installing the Ink Cartridges
- Lift the access door until it locks into place.
- Insert the black and tri-color ink cartridges into their respective slots. The black cartridge goes into the right slot, and the tri-color cartridge goes into the left slot. Push them in until they click into place.
- Lower the access door until it snaps shut.
Step 3: Loading Paper
- Pull out the input tray and adjust the paper width guides to their outermost positions.
- Place a stack of plain white paper into the input tray. Adjust the paper width guides so they touch the edges of the paper.
- Push the input tray back into the printer until it clicks into place.
Step 4: Connecting to Wi-Fi
- Ensure your printer is powered on and in a ready state. The wireless light should be blinking blue.
- On your computer or mobile device, download and install the HP Smart app from the HP website or your App Store.
- Launch the app and follow the on-screen instructions to add your printer. The app will guide you through connecting the printer to your Wi-Fi network.
- Once connected, the wireless light on the printer will stop blinking and remain solid blue.
Step 5: Installing Printer Software
- Visit the HP support website and download the latest drivers and software for the HP DeskJet 2855e.
- Run the downloaded file and follow the on-screen instructions to install the software on your computer. This will include the necessary drivers and optional software to help you manage your printer.
- After the installation is complete, restart your computer if prompted.
Step 6: Performing a Test Print
- Open any document or photo on your computer or mobile device.
- Choose the print option and select the HP DeskJet 2855e from the list of available printers.
- Adjust your print settings as needed and click the print button. Your printer should begin printing the document.
Troubleshooting Tips
- Ensure your printer and device are on the same Wi-Fi network. Restart your printer and device if necessary.
- Run a print head cleaning cycle from the printer’s maintenance menu.
- Carefully remove any jammed paper from the input or output trays and ensure the paper is loaded correctly.
Conclusion
- Setting up your HP DeskJet 2855e All-in-One Printer is simple with these step-by-step instructions.
- By following this guide, you can ensure your printer is ready for all your printing, scanning, and copying needs.
- Enjoy the convenience and efficiency of your new HP DeskJet 2855e!
For additional support or more detailed instructions, visit the HP Support website.