
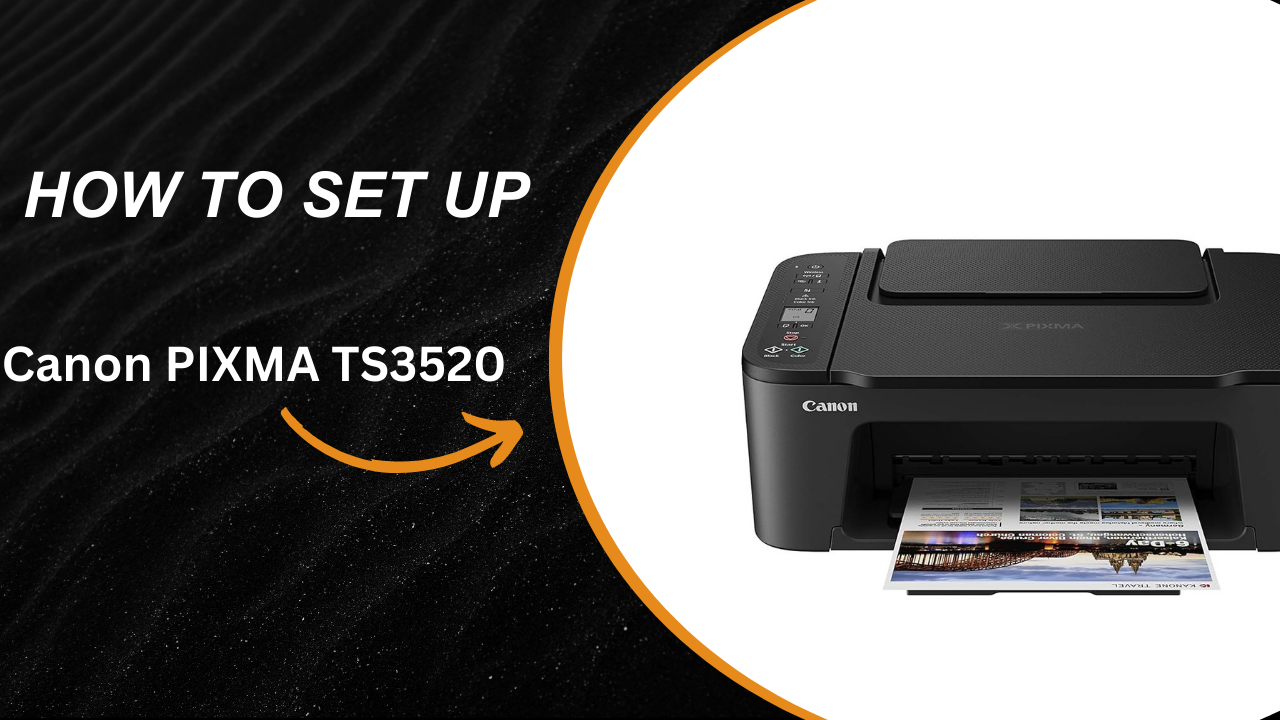
The PIXMA TS3520 Wireless All-in-One Printer is crafted for simplicity and cost-effectiveness to cater to printing needs at home conveniently and affordably. Its wireless feature enables users to efficiently print scans of photos and documents. Furthermore, the printer allows copying across different devices such as smartphones and tablets, using intuitive apps that make the printer quite versatile. Its compact design allows it to easily fit into spaces while producing top notch prints. In this tutorial, we will guide you how to setup PIXMA TS3520 Wireless All-in-One Printer in easy step-by-step methods.
How to setup PIXMA TS3520 Printer:
Step 1: Unbox the Printer:
- Open the packaging box. Gently take the Canon PIXMA TS3520 wireless all-in-one printer out of its packaging box.
- Remove all the protective tapes and coverings from the outer body of the printer, and then remove the sealing tapes that are inside the printer’s compartment. Be sure to open the inner compartment and the scanner unit to remove any packaging materials and tapes.
Step 2: Connect Power and Turn On:
- Now check for the provided power cable which should be inside the printer’s packaging box. Take out the power cable.
- Connect one end of the power cable to the printer and plug the other end into a power outlet on a nearby wall.
- Press the power button on the printer’s control panel to switch on the printer.
- The printer will now begin starting up, and it will make some slight movement noises. Allow the printer to finish its startup sequence. Once it is idle, the printer is ready for use.
Step 3: Install the Ink Cartridges:
- Open the printer’s front cover to access the cartridge compartment. From this step onwards, be careful to gently handle the cartridges and the inner parts of the printer unit.
- Take out the ink cartridges provided in the printer’s packaging box and insert them into their corresponding slots.
- Make sure that the color of the ink cartridge matches the color given on its compartment. That way, you will know that the ink cartridge is being fitted into the right compartment.
- Snap to lock the ink cartridges properly into their respective compartments.
- Close the front cover of the printer to finish the ink installation process.
Step 4: Load Paper:
- Pull out the paper tray extension at the rear of the TS3520 wireless all-in-one printer.
- Extend the paper guides by sliding them to the edges of the tray. Take a stack of plain paper to be used for printing.
- Place the stack of plain paper in the tray and move the guides toward the stack until they gently align with the paper edges without pressing the whole stack too tightly. This ensures smooth paper feeding and movements during printing.
Step 5: Install the Printer Software:
- Visit Canon’s official website to download the latest drivers for the PIXMA TS3520 or use the following link to install the Canon Print app: Canon Print Setup.
- Go to the Support section, search for PIXMA TS3520, and download the appropriate drivers for your operating system.
- Open the setup software and follow the prompts. Grant necessary permissions if requested.
- Choose your preferred language and click “OK.”
- Select your location and click “OK” to proceed.
- Click “Start Setup” to begin.
- The installer will check for updates and necessary information for your PIXMA printer.
- Review and accept the license agreement to continue.
- Agree to the “Canon Products Services” terms, and click “OK” if any additional message appears.
- When prompted, ensure the printer is powered on and click “Next.”
- The software will search for printers on your network.
- Once the printer is detected, confirm and click “Connect.”
- Wait while the software establishes communication with your printer.
- Once connected, the software will download the essential setup files. Wait for the download to finish.
- The printer will be registered automatically.
- You may be prompted to update the printer’s firmware. If you are connected to the internet, you can choose to proceed with the update. Otherwise, click “No.”
- Finally, click “Next” to review the connection settings, and the installation will complete. Your PIXMA TS3520 is now ready to use.
How to scan using PIXMA TS3720 Printer:
Once the printer software is installed, we can begin scanning your first document with the PIXMA TS3720 Wireless Home All-in-One Printer. Here’s how to do it:
- Ensure the Canon IJ Scan Utility software is installed on your computer. If not, visit the provided URL: https://www.canon-europe.com/support/consumer_products/software/ij-scan-utility.html?softwareid=tcm:13-1331737&language=EN&os=all.
- Download the latest version of Canon IJ Scan Utility by selecting Drivers & Downloads.
- Follow the on-screen instructions to complete the software installation.
- Prepare the scanner by turning on the PIXMA printer, allowing it to complete its startup operations, and then lifting the scanner lid.
- Print a network status report from the printer’s settings to confirm that your printer is connected to the same Wi-Fi network as your computer or mobile device.
- Open the Canon IJ Scan Utility software.
- Based on your requirements, choose from the available scan options, such as Document, Photo, or Custom.
- Customize the scan resolution, color mode (color, grayscale, or black & white), and file format (JPEG, PDF, etc.).
- In the Canon IJ Scan Utility, click the appropriate Scan button (e.g., Document or Photo).
- The printer will commence scanning your document or photo. Once completed, the scanned file will be saved on your computer.
- If prompted to save the document again, select the relevant file options and settings, and then save it.
That’s it! You have successfully scanned your document using your PIXMA TS3720 Wireless Home All-in-One Printer.
Troubleshooting questions and answers
Q1: Why isn’t my Canon PIXMA TS3520 connecting to Wi-Fi?
A1: If your PIXMA TS3520 won’t connect to your Wi-Fi network, don’t worry. Here are a few things you can try:
- Check the Wi-Fi Signal:Ensure your Wi-Fi router is working and the printer is close enough to the router to get a strong signal.
- Restart Everything:Turn off both the printer and the router, wait for about a minute, and then power them back on to re-instantiate the network connection.
- Re-enter the Wi-Fi Password:On the printer’s control panel, go to the Wi-Fi settings, select your network, and click on “Forget network”. Then, carefully retype your password and make sure that it is correct.
- Double-check the Network:Make sure the printer is attempting to connect to the right network, and not a guest network or restricted network.
Q2: Why is my Canon PIXMA TS3520 printing blank pages?
A2: There may be various reasons why your printer may print blank pages. If your printer is printing out blank pages, here are some steps that you can try out:
- Check the Ink Levels:Ensure that your ink cartridges aren’t empty or running low on ink. You can check the status of your ink cartridges on the printer’s control panel or through the Canon app.
- Reinstall the Ink Cartridges:Open the printer’s access door, take out the cartridges, and carefully put them back in, making sure they’re firmly seated in place.
- Clean the Printhead:Go into the printer’s settings. Then, find the Maintenance menu, and run a printhead alignment process and a cleaning process to remove the clogging of any blocked nozzles.
- Check the Paper Settings:Make sure the paper size and type in the print settings match the paper loaded in the tray.
- Restart or Reinstall Drivers:Try restarting both your printer and computer. If that doesn’t work, reinstall the printer drivers to ensure everything runs smoothly.
Q3: How can I speed up printing on my Canon PIXMA TS3520?
A3: If your printer seems to be taking its sweet time, try these tips to speed things up:
- Lower the Print Quality:Switch to Standard or Draft mode in the print settings if you don’t need top-notch quality, especially for simple documents.
- Match the Paper Type:Ensure the paper type selected in the print settings is the same as what’s loaded in the tray—this can help avoid delays.
- Close Unnecessary Programs:If your computer is multitasking with lots of apps open, it could slow down the print process. Closing unused apps can help.
- Update the Printer’s Firmware:Check Canon’s website for firmware updates, which can improve performance and speed.
- Use a Wired Connection:If printing wirelessly feels slow, try connecting your computer directly to the printer with a USB cable for faster speeds.