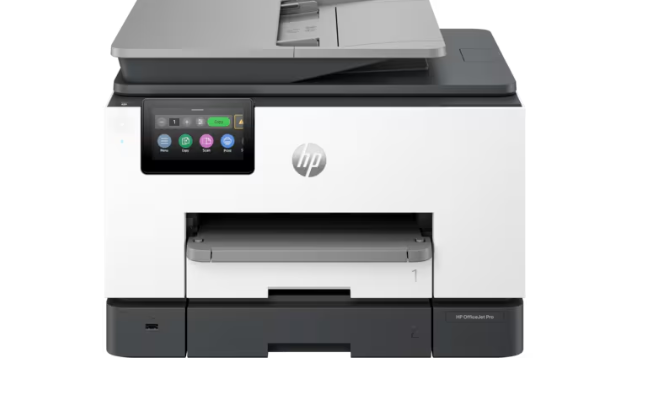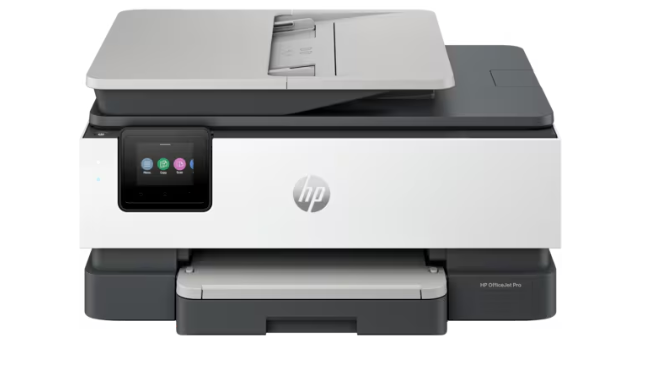
How to Set Up HP OfficeJet Pro 8139e Wireless Printer: A Step-by-Step Guide
Setting up your HP OfficeJet Pro 8139e wireless printer can seem daunting, but with this comprehensive guide, you’ll have it up and running in no time. Whether you’re tech-savvy or a complete beginner, follow these simple steps to get your printer connected and ready to use.
Set Up HP OfficeJet Pro 8139e Wireless Printer:
Step 1: Unbox and Inspect
Before starting, ensure that you have all the components:
- HP OfficeJet Pro 8139e Printer
- Power cord
- Ink cartridges
- User manual
- Installation CD (optional, you can download the software online)
Carefully remove all packing materials and protective tapes from the printer.
Step 2: Power Up the Printer
- Plug the power cord into the back of the printer and the other end into a power outlet.
- Press the power button. The printer will begin to initialize, and the control panel will light up.
Step 3: Install the Ink Cartridges
- This is usually located at the front or top of the printer.
- Remove the plastic tape from the new cartridges and insert them into their respective slots. Ensure they click into place securely.
- The printer will recognize the new cartridges and may prompt you to align them. Follow the on-screen instructions to complete the alignment process.
Step 4: Load Paper
- Extend the paper tray and adjust the paper guides.
- Place a stack of plain white paper into the tray and adjust the guides to fit snugly against the paper without bending it.
- Ensure it’s securely closed to avoid any paper jams.
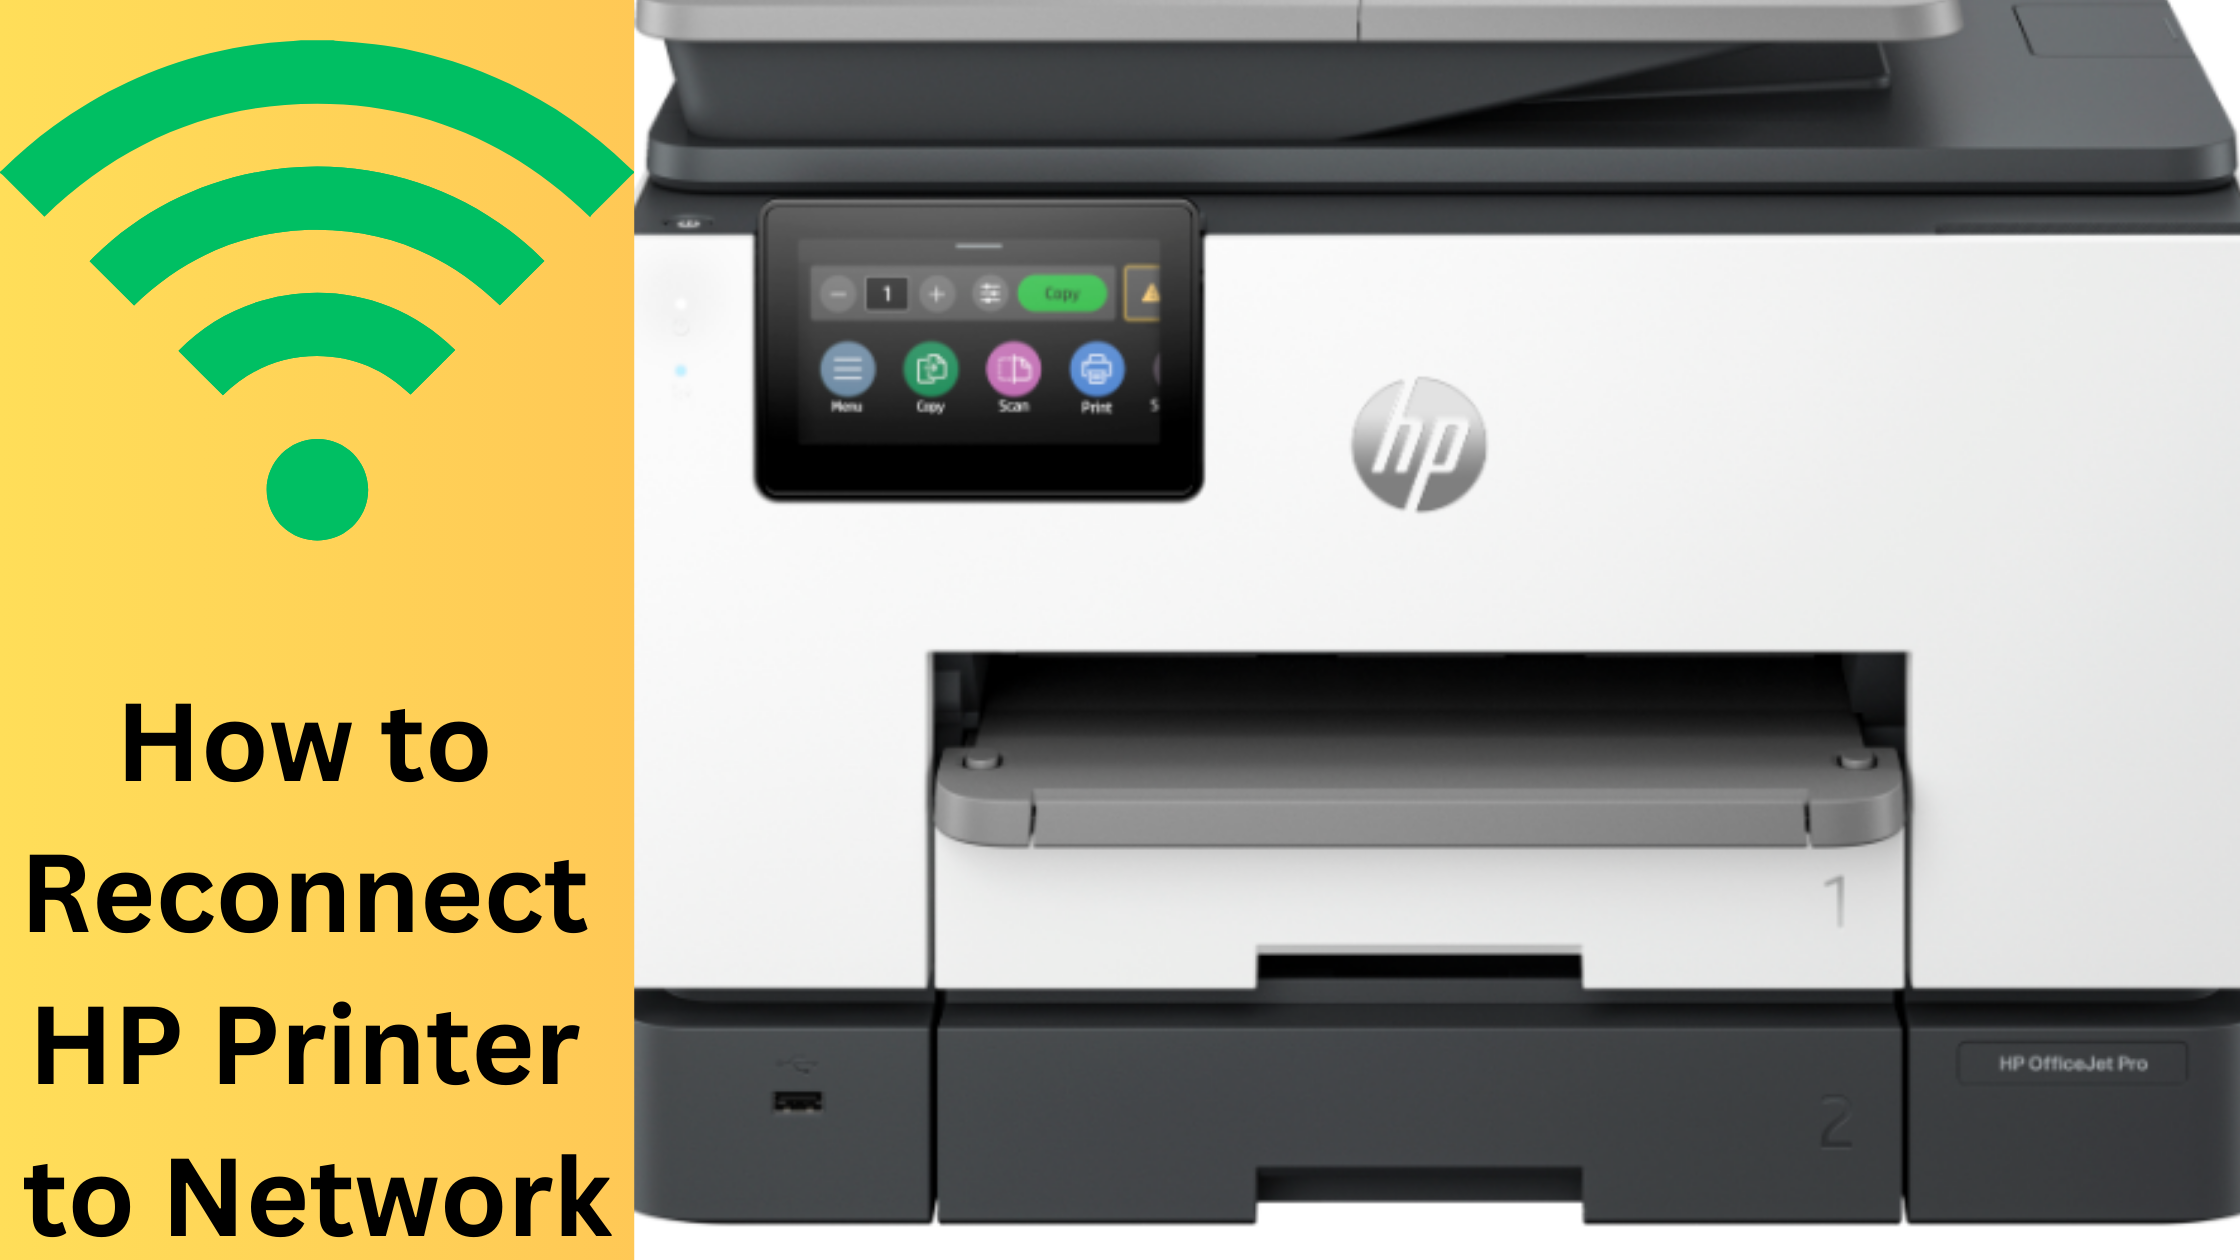
Step 5: Connect to a Wireless Network
- On the printer’s control panel, go to the ‘Wireless’ or ‘Network’ menu.
- Follow the prompts to search for available networks.
- Select your Wi-Fi network from the list and enter the password. The printer will attempt to connect to the network. A confirmation message will appear once it’s connected successfully.
Step 6: Install HP OfficeJet Pro 8139e Printer Software
Option 1: Using the Installation CD
- Place the installation CD into your computer’s CD/DVD drive.
- The setup program will guide you through installing the necessary drivers and software.
Option 2: Downloading from HP’s Website
- Go to the https://support.hp.com.
- Enter “HP OfficeJet Pro 8139e” in the search bar.
- Choose the appropriate software for your operating system and download it.
- Open the downloaded file and follow the on-screen instructions to complete the installation.
Step 7: Complete Printer Setup on Your Computer
- On your computer, go to the ‘Printers & Scanners’ or ‘Devices & Printers’ settings.
- Click on ‘Add a Printer’ and select your HP OfficeJet Pro 8139e from the list of available printers.
- Complete the setup process by following any additional on-screen instructions.
Step 8: Test Your Printer
- Go back to ‘Printers & Scanners’ settings, select your printer, and choose ‘Print Test Page’.
- Ensure the test page prints correctly, indicating that your printer is set up and ready to use.
Troubleshooting Tips:
- If your printer cannot connect to the Wi-Fi, ensure that the network password is correct and that the printer is within range of the router.
- Ensure that you have downloaded the correct drivers for your operating system. Visit the HP support website for updates.
- Always load paper properly and avoid overfilling the tray to prevent jams.
Scan to a Computer with HP OfficeJet Pro 8139e Wireless Printer
Step 1: Place the Document on the Scanner
- Lift the scanner lid to reveal the glass surface.
- Place the document or photo face down on the scanner glass. Align it with the guides on the edges of the glass.
- Gently close the lid to secure the document in place.
Step 2: Initiate the Scan from the Printer Control Panel
- On the printer’s control panel, navigate to the ‘Scan’ menu. This might be labeled as ‘Scan’ or ‘Scan to Computer’.
- If you have multiple computers connected to the printer, select the appropriate computer from the list.
- Select the type of scan you want (e.g., PDF, JPEG). You can also adjust settings like resolution and color if necessary.
- Press the ‘Start’ button to begin scanning. The document will be scanned and sent to your computer.
Step 3: Retrieve the Scanned Document on Your Computer
- If you initiated the scan using the printer control panel, the scanned document should appear in the HP Smart or HP Scan software on your computer.
- The scanned file is usually saved in the ‘Documents’ or ‘Pictures’ folder under a ‘Scanned Documents’ subfolder. You can also specify a different save location within the HP software settings.
- Open the scanned document to ensure it has been saved correctly and the quality is acceptable.
Step 4: Optional – Scan Directly from the Computer
- Launch the HP Smart app or HP Scan software on your computer.
- Choose the ‘Scan’ option from the main menu.
- Select your scan preferences, such as document type, resolution, and save location.
- Click the ‘Scan’ button in the software to start scanning. The printer will scan the document and save it to your computer.
By following these steps, you’ll have your HP OfficeJet Pro 8139e wireless printer set up and ready to tackle all your printing and scanning needs. Enjoy seamless printing with your new device!
Related Articles:
How to Scan to Computer with HP Printer: A Step-by-Step Guide