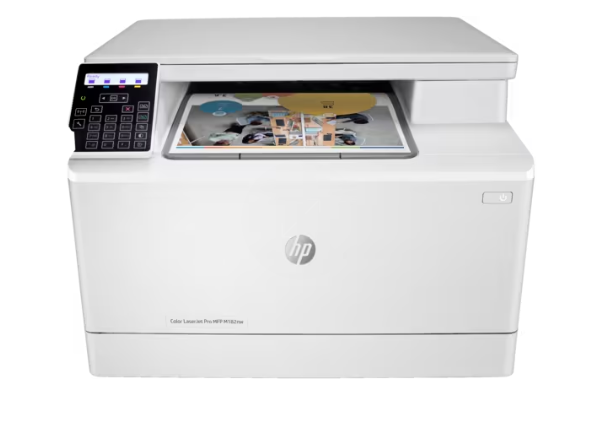
How to Set Up HP Color LaserJet Pro MFP M182nw: A Step-by-Step Guide
Setting up your HP Color LaserJet Pro MFP M182nw can be a straightforward process if you follow the right steps. This guide will walk you through the entire setup process, from unboxing to the first print, ensuring you get the best performance from your new printer.
Unboxing and Initial Setup
- Carefully remove the printer from the box.
- Remove all packing materials, including tapes and protective films from the printer.
- Ensure all accessories are present: power cord, USB cable, toner cartridges, user manual, and installation CD (if included).
- Position the printer on a flat, stable surface near a power outlet and your computer or network router.
- Lift the scanner lid and open the toner cartridge access door.
- Remove the packaging from each toner cartridge.
- Gently insert each cartridge into its corresponding slot until it clicks into place.
- Lower the toner cartridge access door and the scanner lid.
Connecting the Printer
- Connect the power cord to the printer and plug it into an electrical outlet.
- Press the power button to turn on the printer.
- On the printer’s control panel, navigate to the Wi-Fi setup menu.
- Select your Wi-Fi network and enter the password to connect.
- Alternatively, you can connect the printer to your network using a WPS (Wi-Fi Protected Setup) button if your router supports it.
- If you prefer a wired connection, connect the printer to your computer using the USB cable provided.
Installing the Printer Software
- Visit the https://support.hp.com and search for the HP Color LaserJet Pro MFP M182nw.
- Download the latest printer software and drivers for your operating system.
- Open the downloaded file and follow the on-screen instructions to install the software.
- During the installation, you will be prompted to select the connection type (Wi-Fi, USB, or Ethernet).
- Follow the prompts to complete the software installation.
- Print a test page to ensure everything is working correctly.
Configuring Printer Settings
- Open the HP Printer Assistant on your computer.
- Navigate to the “Settings” or “Tools” menu to configure various printer options.
- Adjust settings such as print quality, paper size, and type according to your needs.
- Set up scan-to-email and fax options using the HP software.
Related Articles:
How to Scan to Computer with HP Printer: A Step-by-Step Guide
Enroll HP Printer in Instant Ink: A Step-by-Step Guide
Reconnect HP Printer to the Network: A Step-by-Step Guide
Troubleshooting Common Issues
1. Printer Not Connecting to Wi-Fi
Ensure the printer is within range of your Wi-Fi router.
Restart your router and printer, then try connecting again.
2. Poor Print Quality
Check if the toner cartridges are properly installed.
Run the printer’s built-in cleaning and calibration tools.
3. Software Installation Problems
Ensure your computer’s operating system is up to date.
Temporarily disable any antivirus software during the installation process.
Conclusion
Setting up your HP Color LaserJet Pro MFP M182nw doesn’t have to be a daunting task. By following this step-by-step guide, you can quickly get your printer up and running, ready to handle all your printing needs.
Whether you’re connecting via Wi-Fi or USB, this guide ensures a smooth setup process, allowing you to enjoy the full benefits of your HP printer.
For further assistance or more detailed instructions, refer to the user manual or visit the HP support website.