Install HP OfficeJet Pro 9135e Printer Wirelessly: A Step-by-Step Guide
Installing a new printer can sometimes be a daunting task, but with the HP OfficeJet Pro 9135e, the process is straightforward and user-friendly. This guide will walk you through the steps to install your HP OfficeJet Pro 9135e printer wirelessly, ensuring that you can start printing in no time.
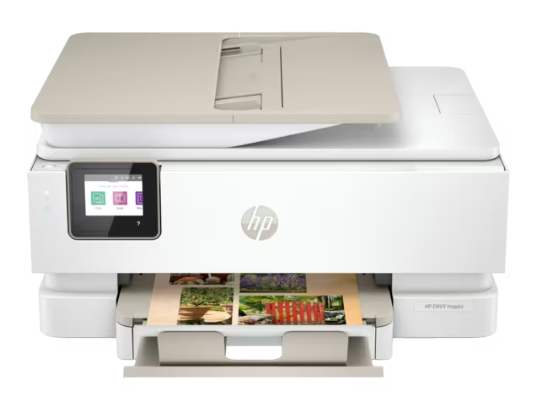
Why Choose the HP OfficeJet Pro 9135e
Before diving into the installation process, it’s worth mentioning why the HP OfficeJet Pro 9135e is an excellent choice. This all-in-one printer offers high-quality printing, scanning, copying, and faxing. With its wireless capabilities, you can easily connect it to your home or office network, allowing multiple devices to print seamlessly.
What You’ll Need
HP OfficeJet Pro 9135e printer
Wireless network (Wi-Fi)
Computer or mobile device
HP Smart app (optional but recommended)
Step-by-Step to Install HP OfficeJet Pro 9135e Printer Wirelessly:
Step 1: Unbox and Prepare the Printer
- Carefully remove the printer from its packaging. Ensure you have all the components, including the power cord, ink cartridges, and user manual.
- Take off all the protective tapes and materials from the printer.
- Connect the power cord to the printer and plug it into a power outlet. Turn on the printer by pressing the power button.
Step 2: Install the Ink Cartridges and Load Paper
- Lift the access door to insert the ink cartridges.
- Insert the ink cartridges into their respective slots and press them down until they click into place.
- Pull out the paper tray, load it with plain paper, and adjust the paper width guides.
Step 3: Connect HP OfficeJet Pro 9135e Printer to Wireless Network
- On the printer’s control panel, navigate to the Wireless or Network Settings menu.
- This option will guide you through the process of connecting the printer to your Wi-Fi network.
- Select your wireless network from the list of available networks.
- If prompted, enter your Wi-Fi password to connect the printer to the network.
Step 4: Install Printer Software
- Visit the HP website to download the HP Smart app on your computer or mobile device. Alternatively, you can use the installation CD if provided.
- Follow the on-screen instructions to install the HP Smart app.
- Open the HP Smart app and click on “Add Printer”. The app will search for available printers.
- Choose the HP OfficeJet Pro 9135e from the list and follow the prompts to complete the setup.
Step 5: Print a Test Page
- To ensure everything is set up correctly, print a test page. This can be done from the HP Smart app or through the printer’s control panel.
- Make sure your printer is connected to the Wi-Fi network and that you can print from your computer or mobile device.
Troubleshooting Tips
- If the printer cannot connect to the network, ensure you are entering the correct Wi-Fi password and that your network is functioning properly.
- If the HP Smart app does not recognize the printer, try restarting your device and the printer.
- If your printer appears offline, check the network connection and ensure the printer is within range of the Wi-Fi router.
How to scan with HP OfficeJet Pro 9135e Printer Wirelessly:
Step 1 : Load the Document
- Open the scanner lid and place the document you want to scan face-down on the scanner glass. Align it according to the guides around the glass.
- If your document is multiple pages, you can use the Automatic Document Feeder (ADF). Load the pages face-up into the ADF.
Step 2 : Scan Using HP Smart App
- Open the HP Smart app on your computer.
- Click on the “Scan” option on the app’s home screen.
- Adjust the scan settings such as scan type (document or photo), size, resolution, and file format (PDF, JPEG, etc.).
- Click the “Scan” button. The printer will scan the document and the preview will appear on the screen.
- You can crop, rotate, or adjust the scanned document as needed.
- Click “Save” or “Save As” to store the scanned document on your computer. You can also choose to share it via email or cloud services directly from the app.
Step 3 : Scan Using Printer Control Panel
- On the printer’s touchscreen control panel, tap the “Scan” icon.
- Choose “Computer” as the destination for your scan.
- If prompted, select your computer from the list.
- Adjust any necessary settings directly on the control panel.
- Press “Start Scan” to begin the scanning process. The scanned document will be sent to your computer.
Related Articles:
How to Scan to Computer with HP Printer: A Step-by-Step Guide
Enroll HP Printer in Instant Ink: A Step-by-Step Guide
Reconnect HP Printer to the Network: A Step-by-Step Guide
Additional Tips
- You can also scan documents directly to email using the printer’s control panel.
- Ensure that your printer and computer are properly connected. If using Wi-Fi, both devices should be on the same network.
- Keep your printer’s firmware and HP software updated for the best performance.
Conclusion
Installing your HP OfficeJet Pro 9135e printer wirelessly is a simple process if you follow these steps. With its advanced features and seamless wireless connectivity, you’ll be able to print, scan, and copy with ease.
For further assistance, refer to the HP support website or contact their customer service.
By following this guide, you should now have your HP OfficeJet Pro 9135e up and running, ready to handle all your printing needs. Happy printing!