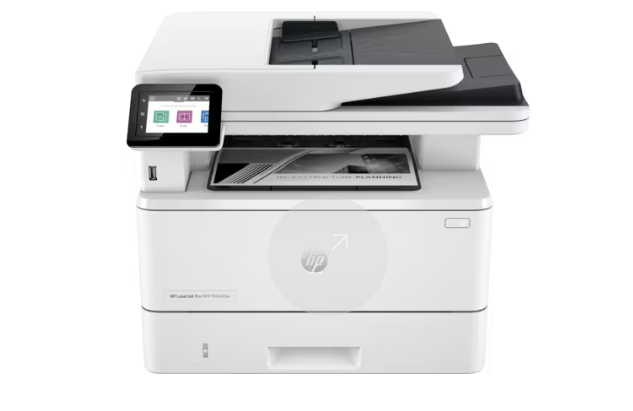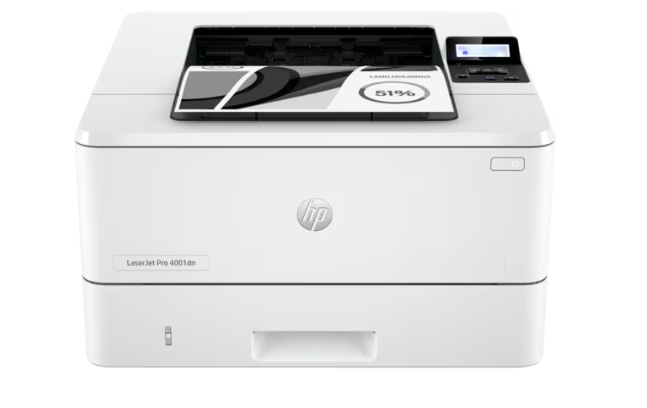
How to Install HP LaserJet Pro 4001dn Printer: A Step-by-Step Guide
Installing a printer can sometimes be a daunting task, but with this comprehensive guide, you’ll have your HP LaserJet Pro 4001dn up and running in no time. Whether you’re setting up your printer for home use or for your office, this step-by-step tutorial will cover everything you need to know. Follow along to ensure a smooth and hassle-free installation process.
1. Unboxing and Checking Components
Carefully unbox your HP LaserJet Pro 4001dn printer. Ensure that you have all the necessary components:
- HP LaserJet Pro 4001dn Printer
- Power cord
- USB cable (optional)
- Toner cartridge
- Installation CD (optional)
- User manual
Remove all packing materials, including tapes and protective films from the printer.
2. Connecting the Printer
- Place the printer on a flat, stable surface near your computer or network router.
- Connect the power cord to the printer and plug it into a power outlet.
- Turn on the printer by pressing the power button.
Decide on your connection method:
- USB Connection: Connect the printer to your computer using the provided USB cable.
- Network Connection: Connect the printer to your network using an Ethernet cable.
3. Installing Printer Drivers
Windows Users:
- Visit the https://support.hp.com.
- Search for “HP LaserJet Pro 4001dn drivers” and download the latest drivers for your operating system.
- Run the downloaded file and follow the on-screen instructions to install the drivers.
- If prompted, select the connection method (USB or Network) and complete the installation process.
Mac Users:
- Open “System Preferences” and select “Printers & Scanners.”
- Click the “+” button to add a new printer.
- Select your HP LaserJet Pro 4001dn from the list and click “Add.”
- If the drivers are not automatically installed, visit the [HP Support website](https://support.hp.com) and download the latest drivers for macOS.
4. Configuring Printer Settings
- Open the printer settings on your computer.
- Set the default paper size, print quality, and other preferences according to your needs.
- Configure network settings if using a network connection. This may involve setting a static IP address or configuring wireless settings.
5. Printing a Test Page
- Load paper into the input tray of the printer.
- From your computer, open the printer settings and select “Print Test Page.“
- Ensure that the test page prints correctly. If not, refer to the troubleshooting section.
6. Troubleshooting Common Issues
Issue 1: Printer is not detected by the computer.
- Solution: Check the connection cables and ensure they are securely connected. Restart both the printer and the computer.
Issue 2: Poor print quality.
- Solution: Check the toner levels and replace if necessary. Clean the printer heads and ensure you are using the correct paper type.
Issue 3:Printer not connecting to the network.
- Solution: Ensure the Ethernet cable is securely connected. Verify the network settings on the printer.
7. Frequently Asked Questions (FAQs)
Q1: How do I update the firmware on my HP LaserJet Pro 4001dn?
- A:Visit the https://support.hp.com and download the latest firmware update for your printer model. Follow the instructions provided to complete the update.
Q2: Can I use third-party toner cartridges?
- A: While third-party cartridges may be cheaper, it’s recommended to use genuine HP toner cartridges to ensure optimal performance and avoid potential issues.
Q3: How do I connect the printer to a wireless network?
- A: Access the printer’s control panel, navigate to the network settings, and follow the prompts to connect to your wireless network.
Conclusion
By following this step-by-step guide, you should have your HP LaserJet Pro 4001dn printer installed and running smoothly. Regular maintenance and using genuine HP supplies will ensure your printer continues to operate efficiently.
If you encounter any issues not covered in this guide, refer to the user manual or contact HP support for further assistance. Happy printing!