How to Set Up Your HP Deskjet 4155e All-in-One Printer: A Step-by-Step Guide
Setting up HP Deskjet 4155e All-in-One Printer is a breeze with this comprehensive guide. Whether you’re tech-savvy or a complete beginner, this step-by-step tutorial will help you set up Your HP Deskjet 4155e printer up and running in no time. Follow along to ensure a smooth installation process and enjoy the full range of features your HP Deskjet 4155e has to offer.
How to Set Up Deskjet 4155e Printer:
1. Unboxing the Printer
Begin by carefully unboxing your new HP Deskjet 4155e printer. Make sure you have all the necessary components:
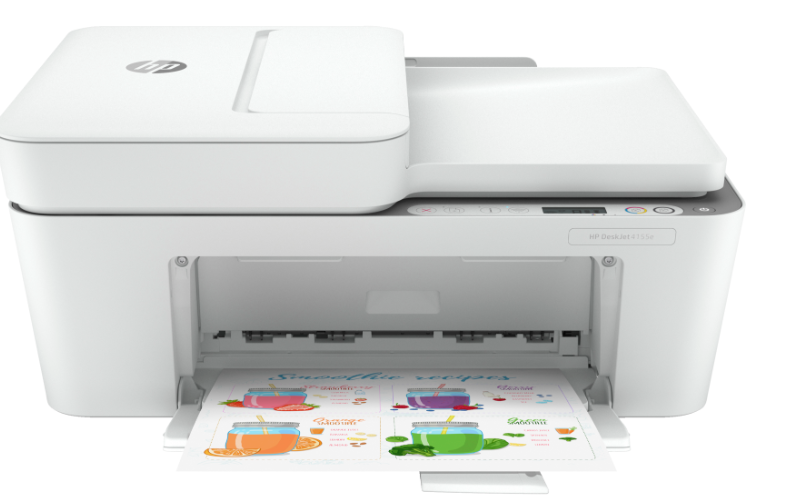
HP Deskjet 4155e All-in-One Printer
Power cord
Ink cartridges (black and tri-color)
Setup guide
Remove all packaging materials and protective tapes from the printer.
2. Connecting the HP Deskjet 4155e printer
Position your printer on a flat, stable surface near a power outlet.
Plug the power cord into the back of the printer and then into a wall outlet. Press the power button to turn on the printer.
3. Installing Ink Cartridges
Lift the ink cartridge access door until it locks into place.
Remove the new ink cartridges from their packaging. Insert the black ink cartridge into the right slot and the tri-color ink
Push each cartridge in until it clicks into place.
Lower the access door back into position.
4. Loading Paper
Pull out the input tray and slide the paper width guides to the outermost position.
Insert a stack of plain white paper into the input tray.
Adjust the paper width guides so they rest against the edges of the paper.
Push the input tray back into the printer.
5. Installing Printer Software
Go to the HP Support website and download the latest printer software for your HP Deskjet 4155e Printer.
Open the downloaded file and follow the on-screen instructions to install the printer software on your computer.
During the software installation, follow the prompts to connect your printer to your computer. This may include connecting via USB or setting up a wireless connection.
6. Connecting to Wi-Fi
On the printer’s control panel, press the Wireless button to start the Wi-Fi setup process.
Download the HP Smart app on your smartphone or tablet. Open the app and follow the instructions to add your printer to the network.
Select your Wi-Fi network and enter the network password when prompted. The printer will connect to the Wi-Fi network.
7. Printing a Test Page
Go to your computer’s printer settings.
Choose the option to print a test page. This ensures that your printer is set up correctly and ready for use.
Related Articles:
How to Scan to Computer with HP Printer: A Step-by-Step Guide
Enroll HP Printer in Instant Ink: A Step-by-Step Guide
Reconnect HP Printer to the Network: A Step-by-Step Guide
8. Troubleshooting Tips
Ensure your Wi-Fi network is working and within range. Restart your printer and router, then try reconnecting.
Open the input tray and remove any jammed paper. Make sure the paper is loaded correctly.
Clean the ink cartridges using the printer software’s maintenance tools.
Frequently Asked Questions (FAQs)
Q1: How do I reset my HP Deskjet 4155e printer?
A1: To reset your printer, turn it off and unplug the power cord. Wait 60 seconds, then plug it back in and turn it on.
Q2: Can I print from my smartphone?
A2: Yes, using the HP Smart app, you can print directly from your smartphone or tablet.
Q3: How do I update my printer firmware?
A3: Visit the HP Support website, download the latest firmware update, and follow the instructions to install it on your printer.
By following these steps, you’ll have your HP Deskjet 4155e All-in-One Printer set up and ready to use in no time.
Enjoy hassle-free printing, scanning, and copying with your new device!