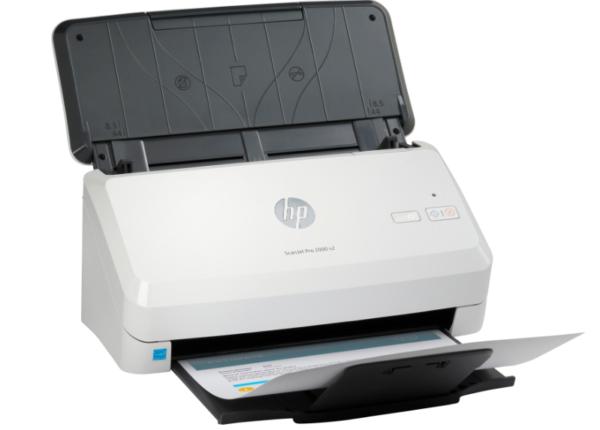
How to Set Up HP ScanJet Pro 2000 s2 Sheet-feed Scanner: A Complete Guide
Setting up your HP ScanJet Pro 2000 s2 Sheet-feed Scanner is a straightforward process that ensures you can quickly start scanning documents with high efficiency and quality. This guide will walk you through each step of the setup process, ensuring you get the best performance from your scanner.
Why Choose the HP ScanJet Pro 2000 s2
The HP ScanJet Pro 2000 s2 is an excellent choice for both home and office use.
It offers high-speed scanning, robust paper handling, and reliable performance.
With the ability to scan up to 35 pages per minute (ppm) and a 50-page automatic document feeder (ADF), this scanner is designed for efficiency.
Step 1: Unboxing and Inspecting Your Scanner
Carefully unbox your HP ScanJet Pro 2000 s2. Ensure you have all the components: the scanner, power cord, USB cable, and installation CDs.
Check for any physical damage during shipping. If you find any issues, contact HP support immediately.
Step 2: Connecting the Scanner
Place the scanner on a flat, stable surface near your computer and a power outlet.
Plug the power cord into the scanner and then into a power outlet. Turn on the scanner using the power button.
Use the provided USB cable to connect the scanner to your computer. Make sure the connection is secure.
Step 3: Installing Scanner Software
If your computer has a CD drive, insert the installation CD provided with your scanner. Follow the on-screen instructions to install the necessary drivers and software.
If you don’t have a CD drive, visit the https://support.hp.com and search for the HP ScanJet Pro 2000 s2.
Download the latest drivers and software. Run the downloaded file and follow the installation instructions.
After installation, restart your computer to ensure all drivers and software are correctly installed.
Step 4: Calibrating the Scanner
Launch the HP Scan software installed on your computer.
Follow the on-screen instructions to load the calibration sheet into the scanner.
Begin the calibration process through the software. This ensures optimal scanning quality and accuracy.
Step 5: Performing Your First Scan
Place your documents in the scanner’s automatic document feeder (ADF). Ensure the documents are straight and not exceeding the ADF capacity.
Open the HP Scan software and select your desired scan settings (e.g., resolution, color, file format).
Click the scan button in the software to begin scanning. Monitor the process to ensure documents feed correctly.
Related Articles:
How to Scan to Computer with HP Printer: A Step-by-Step Guide
Enroll HP Printer in Instant Ink: A Step-by-Step Guide
Reconnect HP Printer to the Network: A Step-by-Step Guide
Troubleshooting Common Issues
Scanner Not Detected: Ensure all connections are secure. Try using a different USB port or cable. Restart your computer and the scanner.
Poor Scan Quality: Recalibrate the scanner. Check for dust or debris on the scanner glass and clean if necessary. Adjust the scan settings for higher resolution.
Paper Jams: Remove any jammed paper carefully. Check the ADF for any obstructions and ensure documents are properly aligned.
Conclusion
Setting up your HP ScanJet Pro 2000 s2 Sheet-feed Scanner is a simple process that can be completed in a few steps.
By following this guide, you can ensure your scanner is set up correctly and ready to provide high-quality scans efficiently.
For more detailed troubleshooting or advanced settings, refer to the user manual or HP support resources.
By following these steps, you’ll be ready to utilize the full capabilities of your HP ScanJet Pro 2000 s2, making document management a breeze. Happy scanning!